+ How to set up a Drip Campaign with Woodpecker

These goals will guide your copy in the body of your emails, ultimately helping you craft a clearer call to action for your readers. A guideline to follow for your campaigns would be to work on a single goal per campaign. You don’t want to blur the lines, muddy up the call to action, and confuse your readers. Choose a single goal, such as post-order follow-ups, promotional contests, communication with visitors who abandoned their carts, and so on.
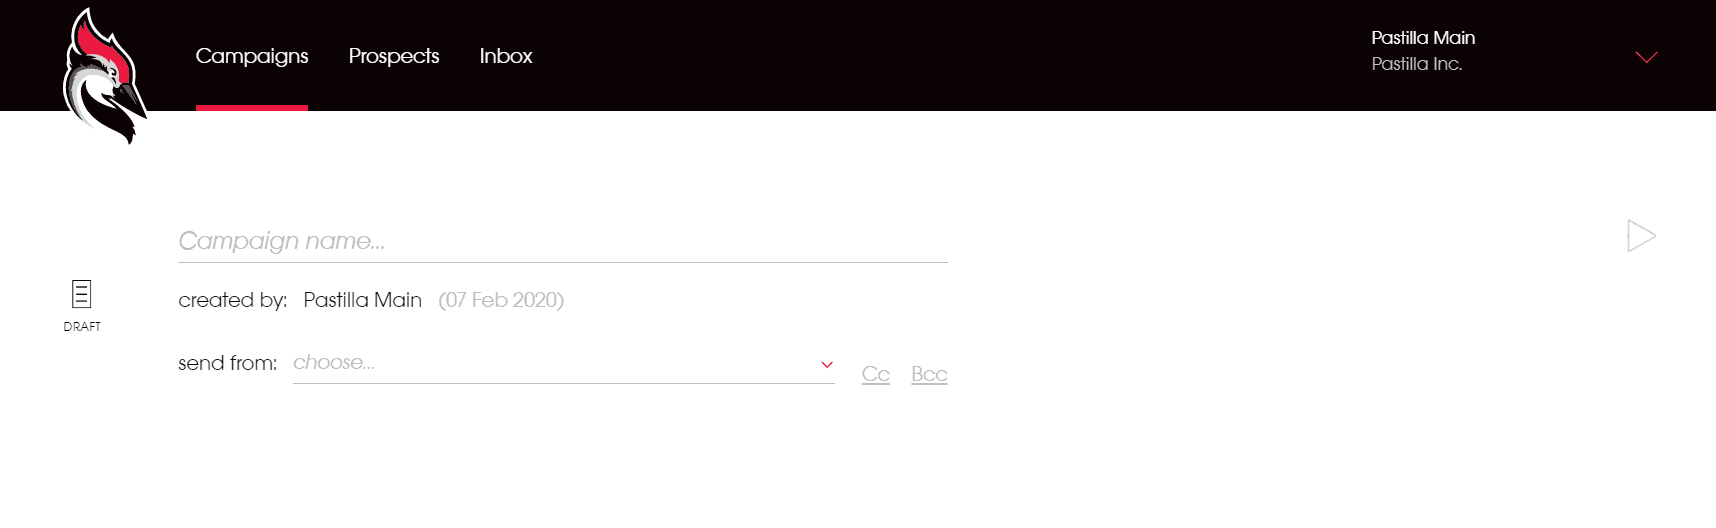
Once you have that goal identified, you can confidently start configuring your drip campaign with Woodpecker.
The mantra in the world of marketing is “content is king”, but that content is only good if people can find and read it. So, if your email deliverability is low — i.e. emails are hitting spam instead of inboxes — people aren’t going to be able to find that content.
So, before you start writing and sending out great copy, you’ll need to make sure your back-end is configured for maximum deliverability. Follow the steps below to verify that everything is configured correctly. This will stop those deliverability problems, and will help you solve any issues before you launch your campaign.
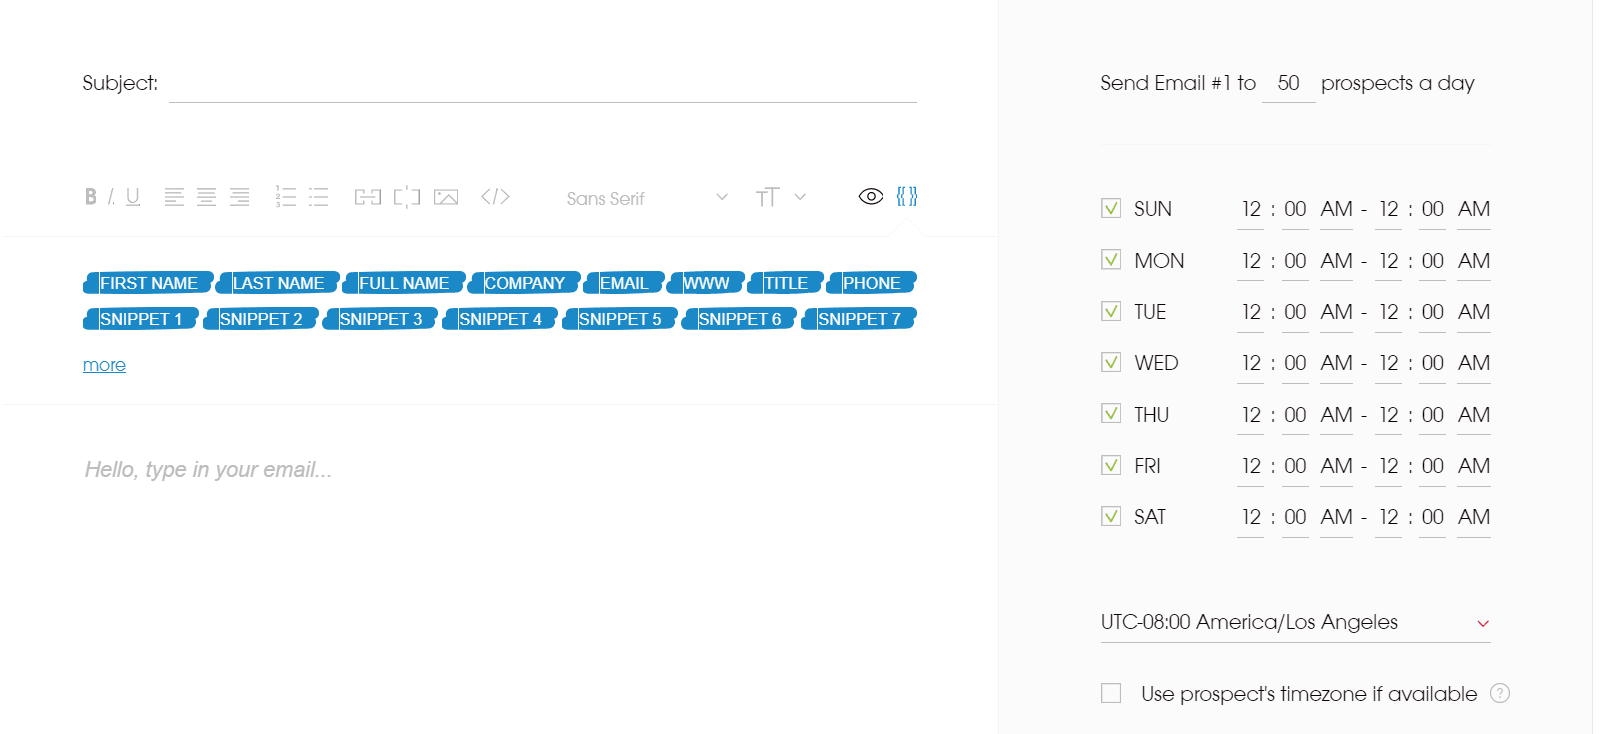
Back-end configurations aren’t the only way to improve email deliverability. You need to nail your content, too! That includes avoiding words typically associated with spam, adding some personalization, making the content clear and concise, and so on! Here’s the meat of what you should and shouldn’t be doing:
In your cold emails, you’ll want to avoid selling products or services, at least initially. Words like “special offer”, “100% free”, and similar styles are a quick way to the spam box. Be sure to reference this exhaustive list before you hit “send” on your campaign.
There’s not necessarily any “magic” for personalized emails staying out of the spam box. It does, however, make the email warm and inviting to the recipient. On the technical side, personalization means that just about every email is going to be different, which could help you avoid alarming the anti-spam systems in place.
The general consensus is that, at least in cold emails, you should avoid embedding tracking links. Many of these tracking addresses are caught by anti-spam mechanisms, sending your email to the spam box. However, if you must track links in your emails, there is a safe and right way to do it. Follow these rules for tracking links, and you’ll keep your cold emails in the recipient’s inbox.
Ultimately, keep your cold emails as simple and natural as possible. You want it to appear as if you were sending an email to a friend for maximum deliverability. Keep things simple — don’t go crazy on the tracking links, personalize it, get your message across quickly and plainly, and ultimately, you won’t just be avoiding anti-spam mechanisms, but speaking to and connecting with the reader as well.
Someone plain-text signatures at the end of their emails, but in B2B, most people keep contact info there, a company logo, and other identifying snippets. In Woodpecker, you’ll just want to open up the HTML box and make sure that you’re signature isn’t occupying more space than necessary. Generally, if it takes up more space than your message, it can trigger an anti-spam mechanism, and you don’t want that happening!
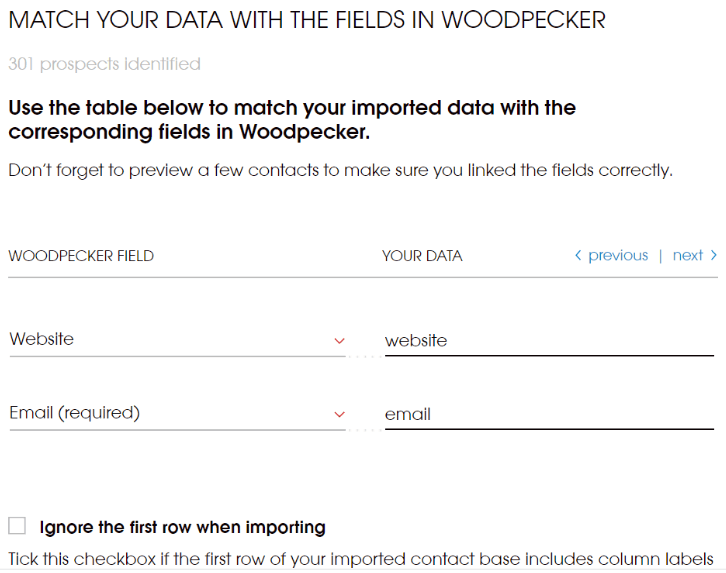
Add the prospects. You can do it in 3 ways: Import, Manually, and From the Database. For Import, Download your contact list to a CVS.
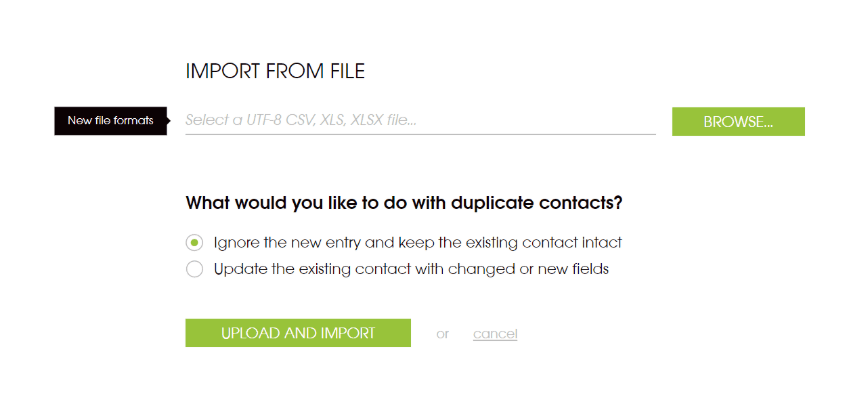
Always match the data with every field and select to ignore the first row when importing.
Woodpecker in itself is easy to setup. But just like any drip campaign manager, all of these deliverability checks need to happen to make sure that you’re actually hitting inboxes. Configuring and running those tests are going to take the most of your time, but it’s ultimately one of the major elements that is going to make your campaign succeed.